Keycloak Admin Client(s) - multiple ways to manage your SSO system
August 5, 2016
Tags: #keycloak #sso #security #api
Did you know that there are multiple ways to manage your Keycloak SSO system?
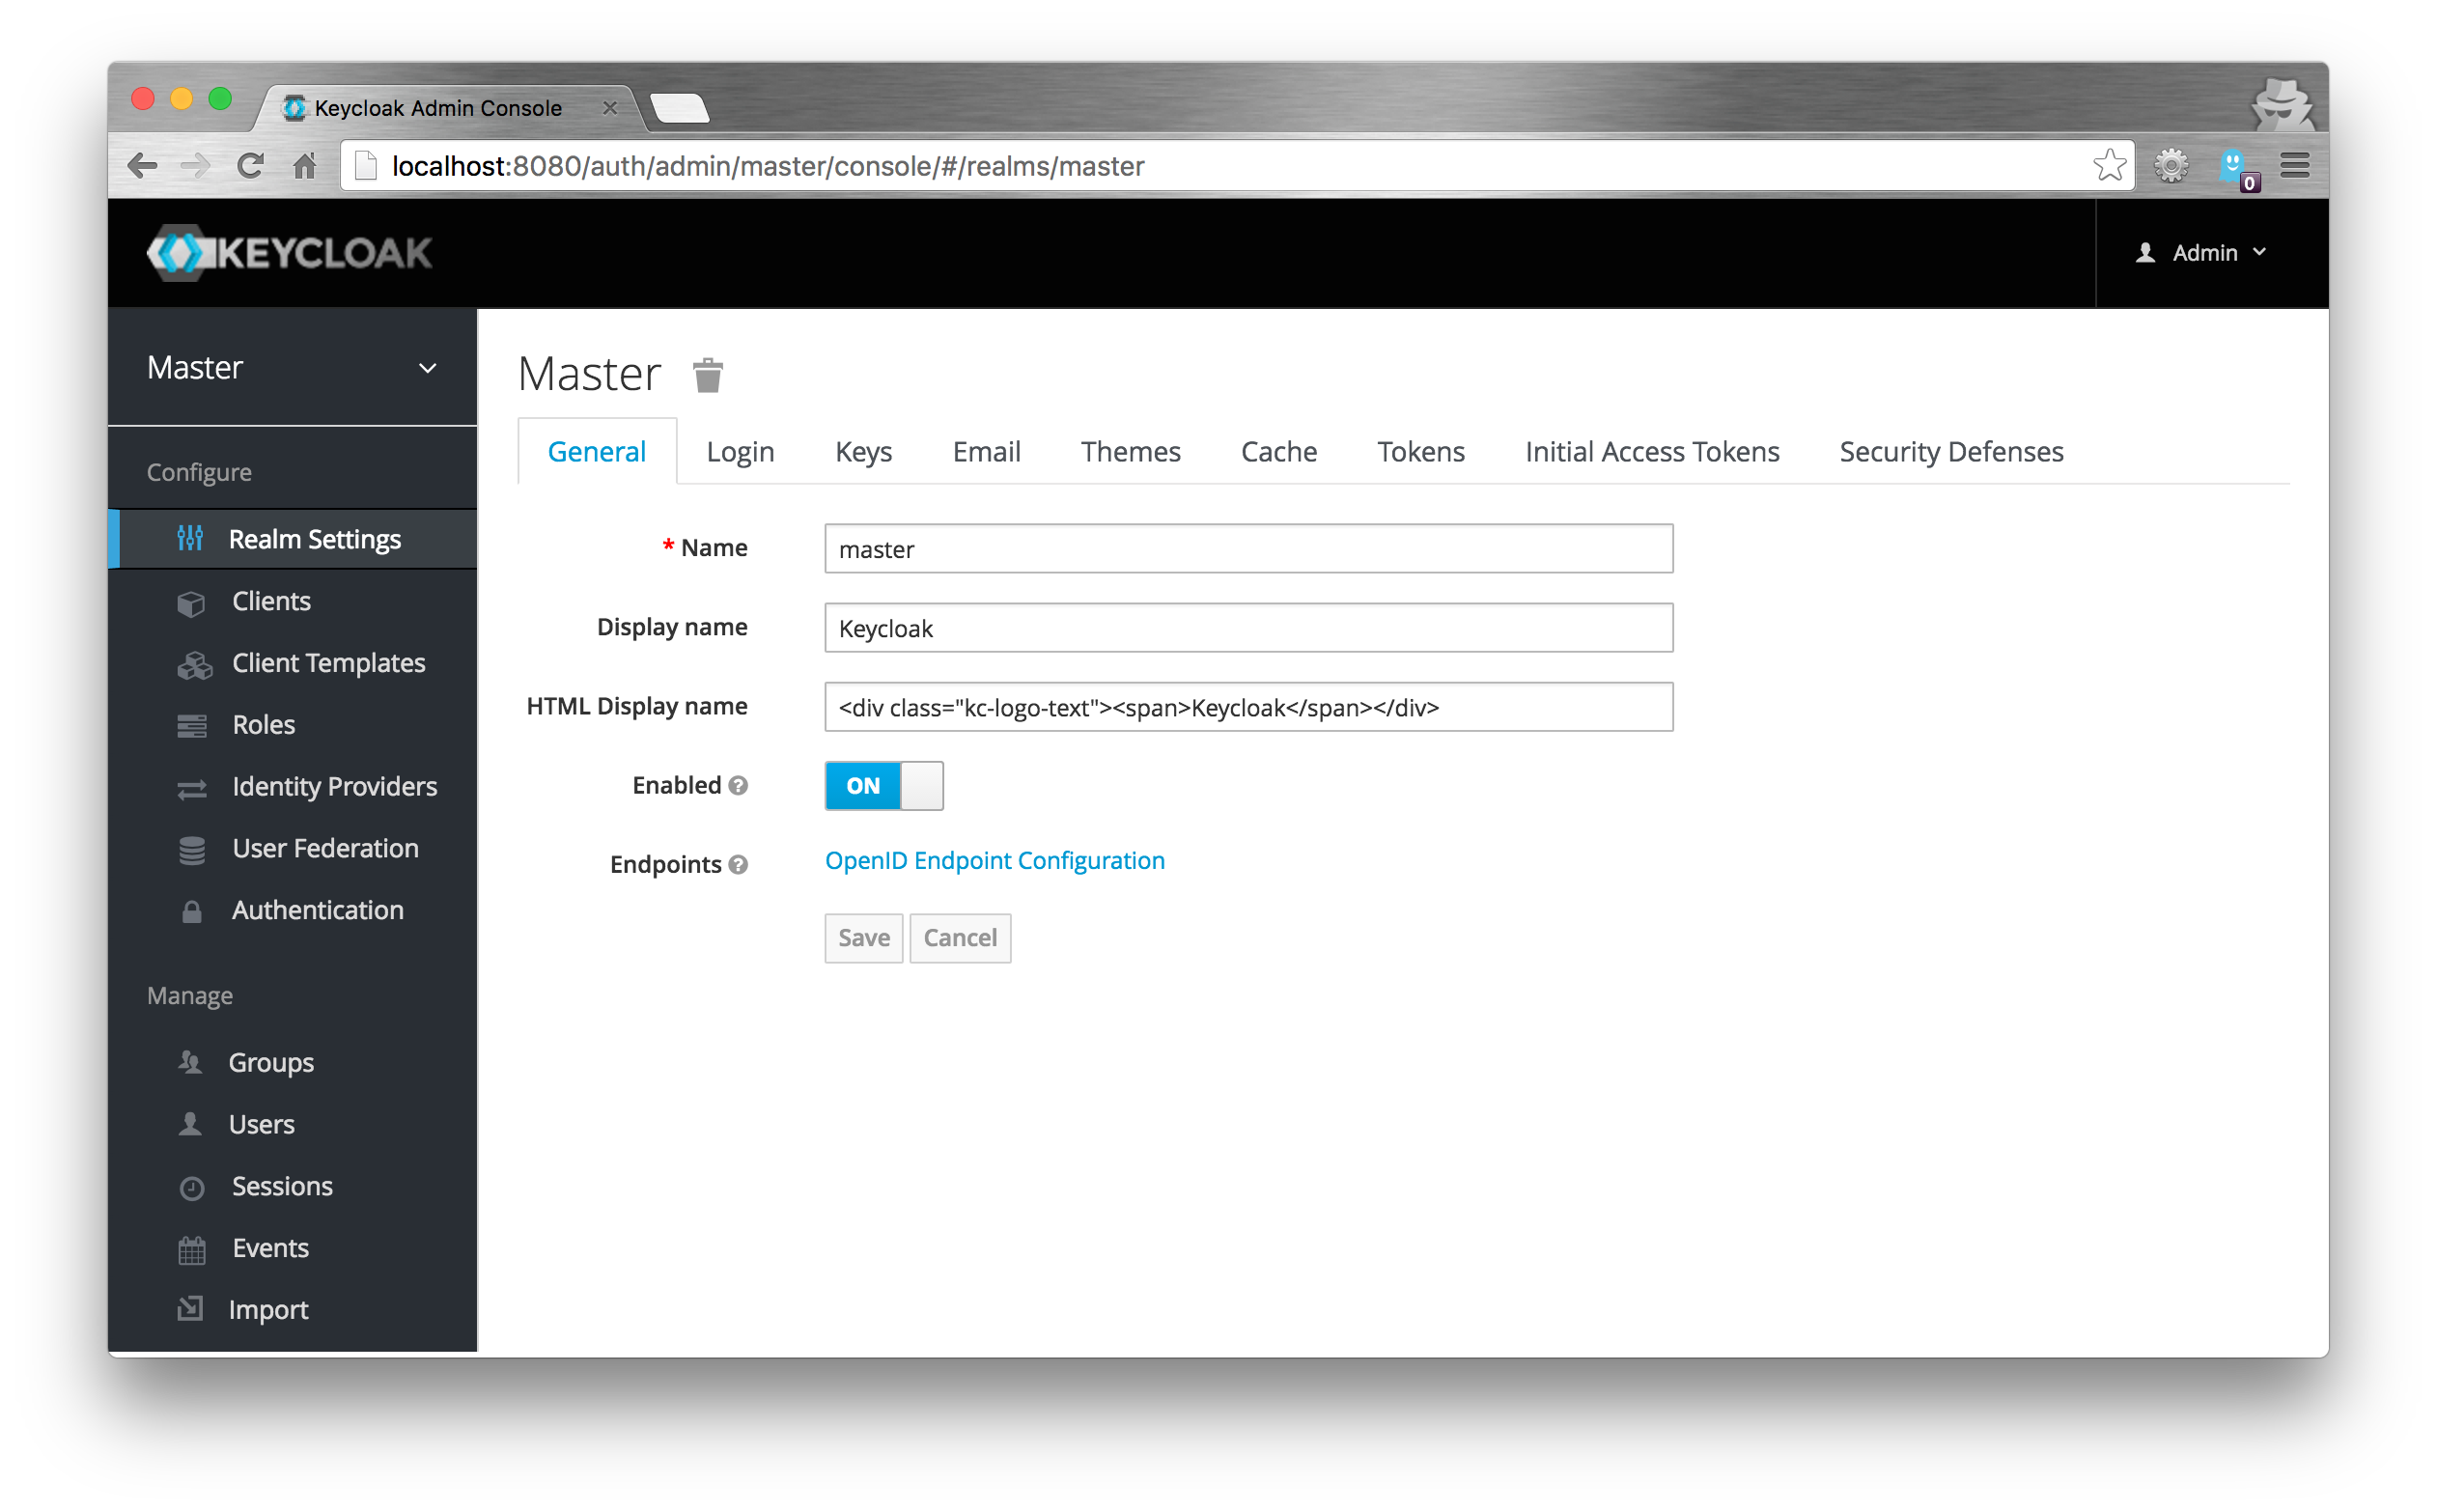
1. Keycloak Admin Web Console
This is probably the most known possibility to manage your Keycloak installation: the Admin Web Console. If you install Keycloak the first time, you’ll get in contact with it.
The web console is an AngularJS based web app and uses for the communication with the backend Keycloak server the next option in the range of possibilities:
2. Keycloak Admin REST API
All operating tasks which are necessary to manage your Keycloak system can be done with the Admin REST API. And as I wrote above, the web console uses the REST API under the hood, everything you do in the web console, you can do with the Admin REST API. Perhaps there are a bit more boilerplate calls and requests as it seems in the web console, but it’s exactly the same!
3. Keycloak Admin Client API
If you are using Java and you don’t want to re-implement every request with your REST client library, then you can use the Keycloak Admin Client library as a dependency. You just have to add this dependency to your project
<dependency>
    <groupId>org.keycloak</groupId>
    <artifactId>keycloak-admin-client</artifactId>
    <version>${keycloak.version}</version>
</dependency>
to use the Java API version of the Admin REST API. Yes, again this re-uses the Admin REST API as also the AngularJS web console does. And as the Java API makes use of the RESTEasy client library, you just have to add some more RESTEasy deps, but then you are all set and can manage your Keycloak SSO system right from your Java application.
Initialize the Keycloak client:
Keycloak kc = KeycloakBuilder.builder()
            .serverUrl("http://your.keycloak.domain/auth")
            .realm("master")
            .username("admin")
            .password("secret")
            .clientId("admin-cli")
            .resteasyClient(
                new ResteasyClientBuilder()
                    .connectionPoolSize(10).build()
            ).build();
This will initialize the Keycloak client object and provide it with the necessary authentication information to perform the subsequent requests. Of course, my values are just demo values, you have to provide your own url, realm, credentials and other values!
Now, once we have initialized our client, we can now call all the requests which are possible with the Admin REST API, there’s a method for all the paths! Here are some examples:
Create a new realm in Keycloak
RealmRepresentation realm = new RealmRepresentation();
realm.setRealm("demo");
realm.set... // all the realm attributes to set
kc.realms().create(realm);
Create a new user in the created demo realm
UserRepresentation user = new UserRepresentation();
user.setUsername("johndoe");
user.set... // all the user attributes to set
kc.realm("demo").users().create(user);
Search for a user and print the username to the console
List<UserRepresentation> user = kc.realm("demo").users()
                                    .search("johndoe", 0, 10);
users.forEach(user -> System.out.println(user.getUsername()));
Conclusion
So, as you just read, there are multiple ways to manage your Keycloak SSO system, but they all rely on one implementation: the Admin REST API. This is an awesome approach of how a good designed API can be re-used in different clients and ways. And the above mentioned options are just the official supported ways to do. There is (of course) also a JavaScript version of the API and other implementations available. Just go and add your own! Everything you need to know you’ll find in the official Keycloak docs!
Enjoy coding!
Du bist auf der Suche nach Keycloak Beratung, Unterstützung, Workshops oder Trainings?
Nimm Kontakt mit mir auf!« Single-Sign-On for Microservices and/or Java EE applications with Keycloak SSO New API Summit in Berlin »